Vinyl Car Sticker Dog

Add Fun to Your Drive: Vinyl Dog Windshield Sticker
Express Your Love for Dogs on the Road
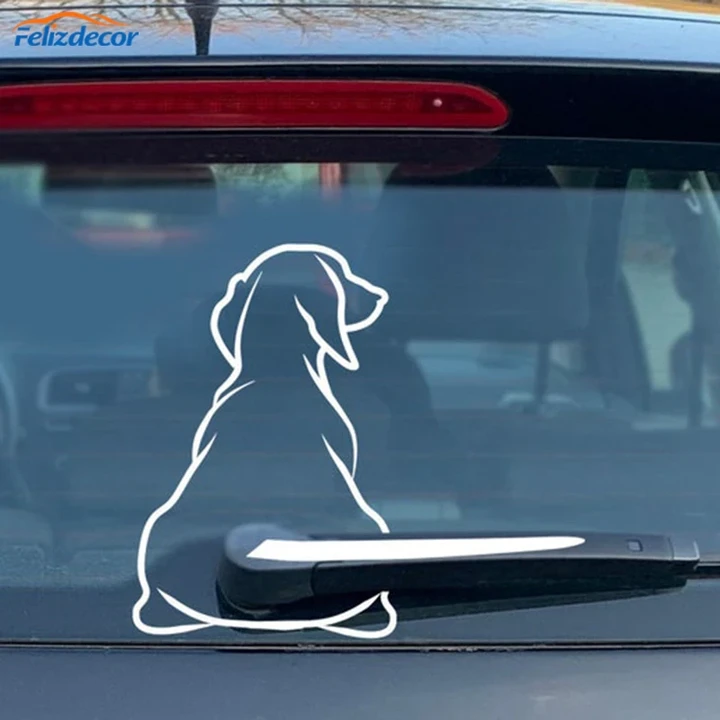
Showcase your love for furry friends with our Vinyl Car Sticker featuring an adorable dog design. This unique decal is perfect for dog lovers who want to add a personal touch to their vehicle. It's more than just a sticker; it's a reflection of your affection for canines and a way to share a smile with fellow drivers.

Interactive Tail Wiper Feature
Add a twist of fun to rainy days with our Interesting Tail Wiper Decals. Designed to bring life to your car's rear windshield, the dog's tail moves with every swipe of the wiper, creating a delightful and amusing effect. It's not just a decal; it's an entertaining addition that brings joy to you and those on the road behind you.

Easy Application, Durable Design
Our Removable Murals are crafted with high-quality vinyl, ensuring durability and longevity. The stickers are easy to apply and remove, leaving no residue, making them a hassle-free way to customize your car. Whether it's bright sunlight or heavy rain, these decals stay vibrant and intact, making your vehicle stand out for all the right reasons.
How to use:
Step 1: Clean the area thoroughly with rubbing alcohol or soap and water. Do not use Windex or similar products because it will leave a residue behind that will prevent the sticker from adhering well.
Step 2: Prepare the sticker for application by firmly rubbing a squeegee or credit card across the clear transfer tape.
This removes any air bubbles that may have formed and makes the sticker cling to the transfer tape.
Step 3: Peel the white paper backing off the sticker. If the sticker clings to the backing, slowly replace the paper backing and repeat Step 2.
Step 4: Slowly lower the sticker onto the surface and rub it in place firmly with a squeegee or credit card. Start in the middle and work your way out.
Step 5: Slowly peel the clear transfer tape off at an angle. Be careful not to pull the sticker off the surface. If the sticker pulls away from the surface repeat Step 4.


